Ingredients
Equipment
Method
Step-by-Step Instructions for Earl Grey Crème Brûlée Tart
- In a large mixing bowl, combine the plain flour, powdered icing sugar, fine salt, and ground Earl Grey tea leaves. Rub in the unsalted butter with your fingertips until the mixture resembles breadcrumbs. Add the beaten egg and ice-cold water gradually until a dough starts to form. Wrap the dough in cling film and chill it in the refrigerator for 1 hour to firm up.
- Once the dough has chilled, dust your work surface with flour and roll it out to a thickness of about 3mm. Carefully transfer it to a 23cm tart tin, pressing it into the edges and trimming off any excess. Prick the base with a fork to prevent bubbling, and chill the tart shell in the refrigerator overnight for optimal texture.
- Preheat your oven to 180°C (350°F). Line the chilled tart shell with parchment paper and fill it with baking weights or dried beans to hold its shape while baking. Bake the tart shell for 15 minutes, then carefully remove the weights and parchment and return it to the oven for an additional 10 minutes until golden brown.
- In a saucepan, warm the double cream over low heat, being careful not to boil it. Add the Earl Grey tea bags and let them steep for 20 minutes, allowing the cream to absorb the tea's aromatic flavors. Remove the tea bags and set the cream aside to cool slightly while you prepare the custard.
- In a mixing bowl, whisk the large egg yolks and caster sugar together until the mixture turns pale and thickens slightly. Gradually add the warm Earl Grey-infused cream to the egg mixture, whisking continuously to avoid scrambling the eggs. Strain this silky custard through a fine sieve into a jug to ensure a smooth texture.
- Pour the prepared custard mixture into the blind-baked tart shell, spreading it evenly. Bake in the preheated oven at 150°C (300°F) for 40 minutes, or until the custard is set but still has a slight wobble in the center. Once baked, remove the tart and allow it to cool at room temperature before refrigerating for 2 to 4 hours.
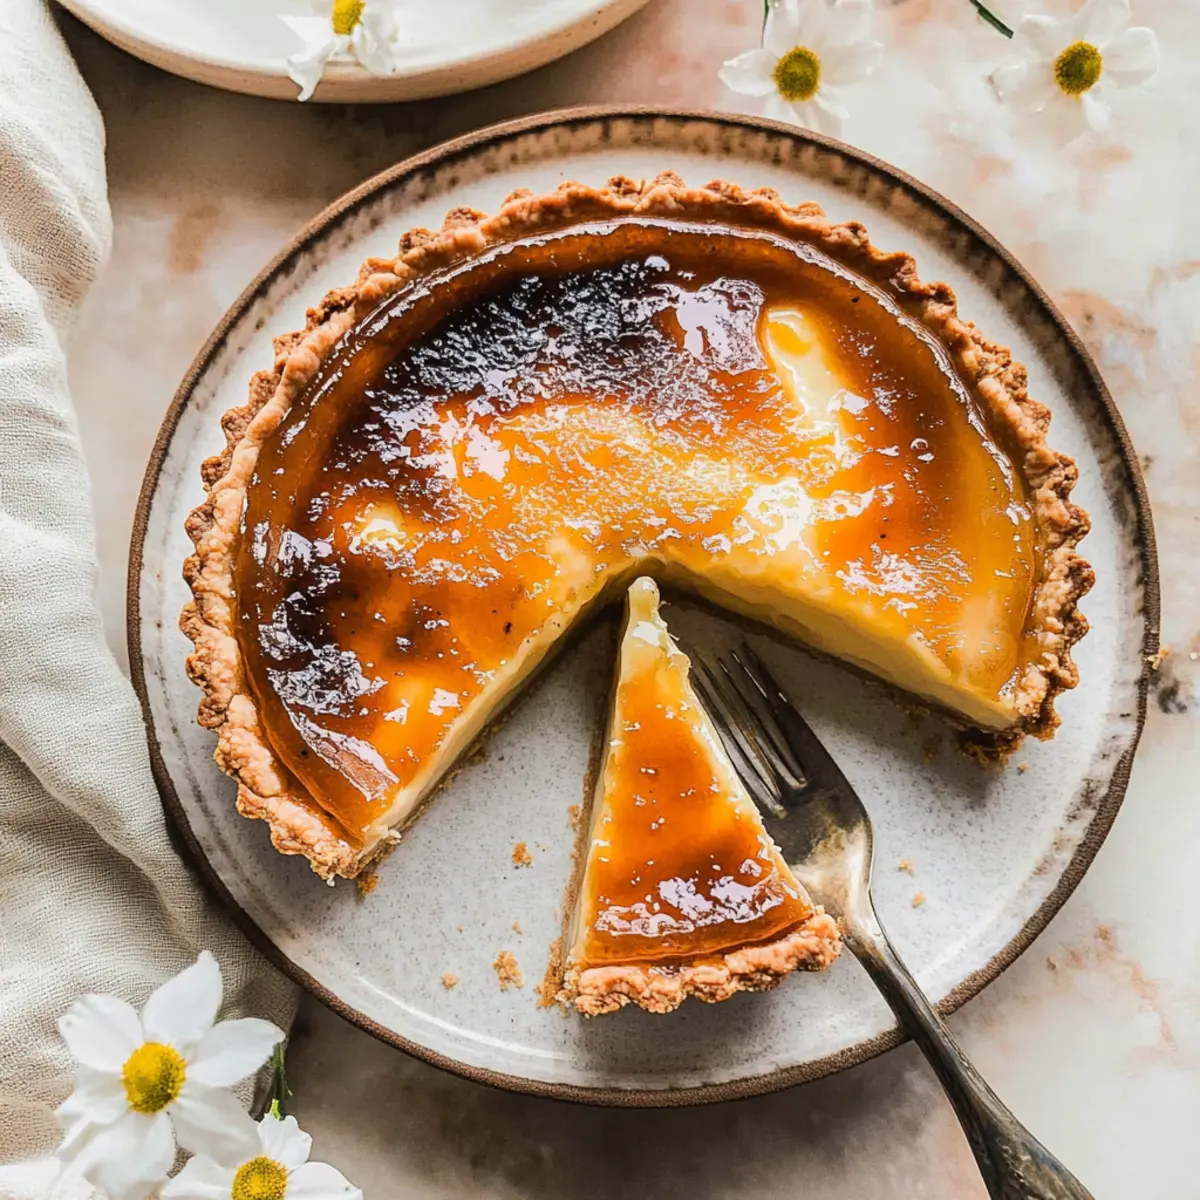
- After the tart has chilled and set, sprinkle an even layer of caster sugar atop the custard. Using a kitchen blow torch, carefully caramelize the sugar until it forms a golden, crisp layer. Let the caramelized topping cool for a few minutes, allowing it to harden before slicing and serving your delightful Earl Grey Crème Brûlée Tart.
Nutrition
Notes
Store your tart in an airtight container in the fridge for up to 2 days. Freeze without the caramelized sugar layer for up to 2 months.