Go Back
+ servings
Stuffed Mushroom Eyeballs

Spooky Stuffed Mushroom Eyeballs for a Frightfully Delicious Bite

Discover the delightful and spooky Stuffed Mushroom Eyeballs, perfect for Halloween gatherings!
Prep Time 10 minutes
Cook Time 25 minutes
Cooling Time 5 minutes
Total Time 40 minutes
Servings: 12 eyeballs
Course: Appetizers
Cuisine: Halloween
Calories: 150

Ingredients
  

For the Filling
  • 12 large White or Cremini Mushrooms
  • 8 oz Cream Cheese opt for low-fat for a lighter version
  • 1 cup Cooked Sausage or Crumbled Bacon vegetarian sausage can be used
  • 1/2 cup Grated Parmesan Cheese any hard cheese can be swapped in
  • 1 clove Garlic minced
  • 2 tbsp Fresh Parsley chopped; substitute with basil or thyme if desired
  • to taste Salt
  • to taste Black Pepper
For the Eyeball Decoration
  • 12 Small Olives pitted; cherry tomatoes can be used
For Baking
  • 1 tbsp Cooking Spray or Olive Oil

Equipment

  • Oven
  • Baking sheet
  • Parchment paper
  • mixing bowl

Method
 

Cooking Instructions
  1. Preheat your oven to 375°F (190°C).
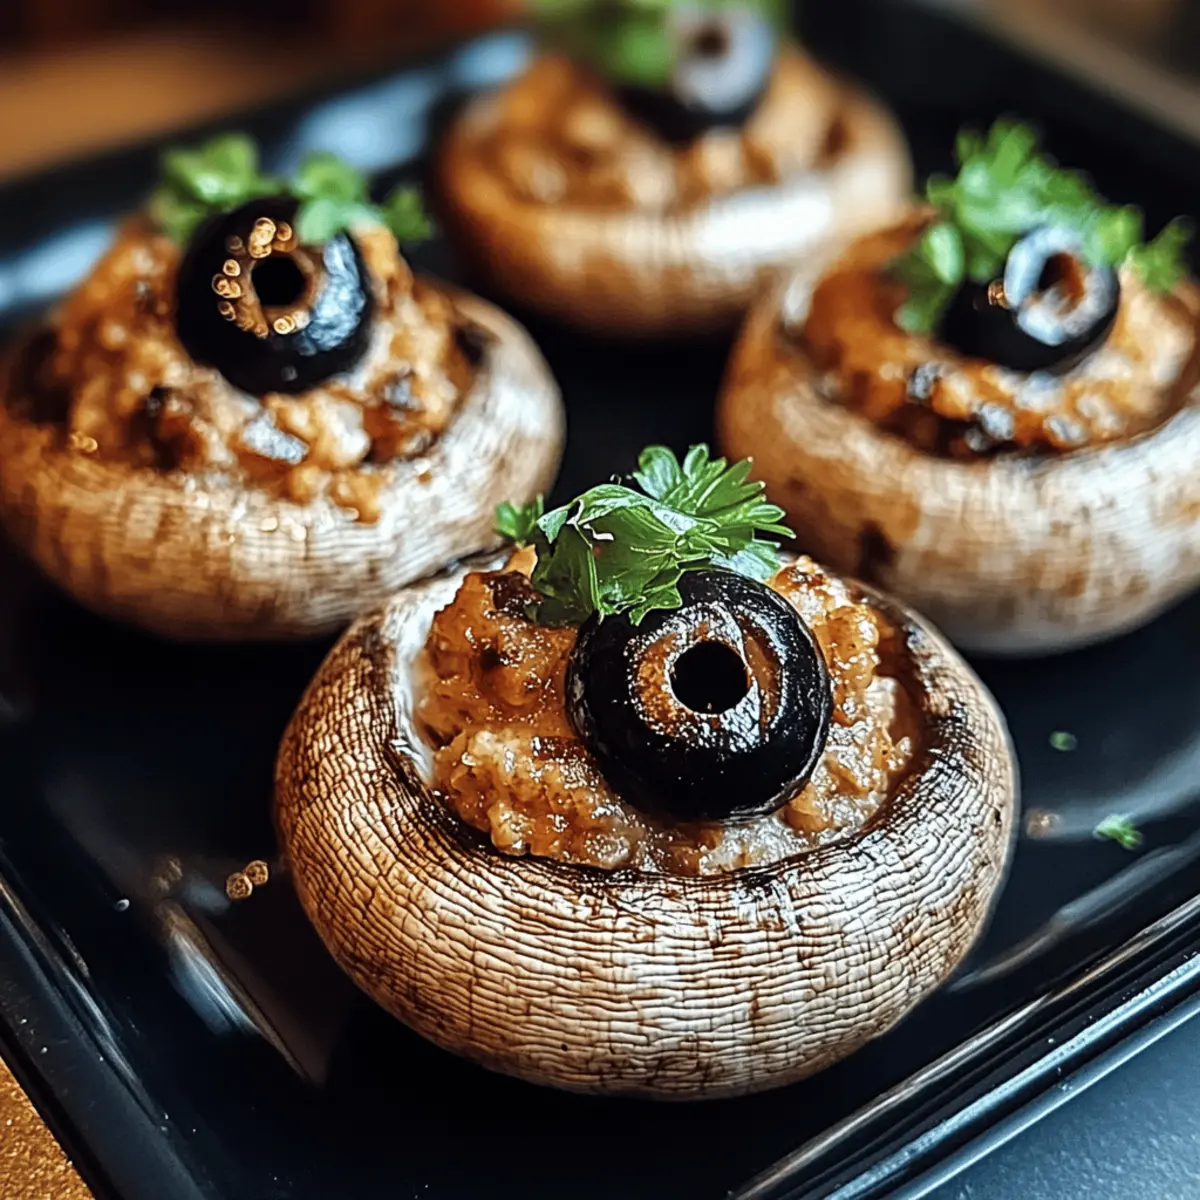
  2. Gently clean the mushrooms with a damp cloth and remove the stems. Finely chop the stems and set the caps aside.
  3. In a mixing bowl, combine the chopped mushroom stems, cream cheese, sausage or bacon, Parmesan, garlic, parsley, salt, and pepper. Mix until smooth.
  4. Stuff each mushroom cap with the filling, pressing gently down.
  5. Arrange the stuffed mushrooms on a greased or lined baking sheet, leaving space between them.
  6. Press an olive in the center of each mushroom for the pupil.
  7. Bake for 20-25 minutes until the mushrooms are tender and the filling is golden.
  8. Remove from the oven and let cool for about 5 minutes before serving.

Nutrition

Serving: 1eyeballCalories: 150kcalCarbohydrates: 3gProtein: 5gFat: 13gSaturated Fat: 6gPolyunsaturated Fat: 2gMonounsaturated Fat: 4gCholesterol: 30mgSodium: 200mgPotassium: 100mgFiber: 1gSugar: 1gVitamin A: 200IUVitamin C: 5mgCalcium: 100mgIron: 1mg

Notes

These stuffed mushrooms can be prepared a day in advance and stored in the fridge until ready to bake.

Tried this recipe?

Let us know how it was!